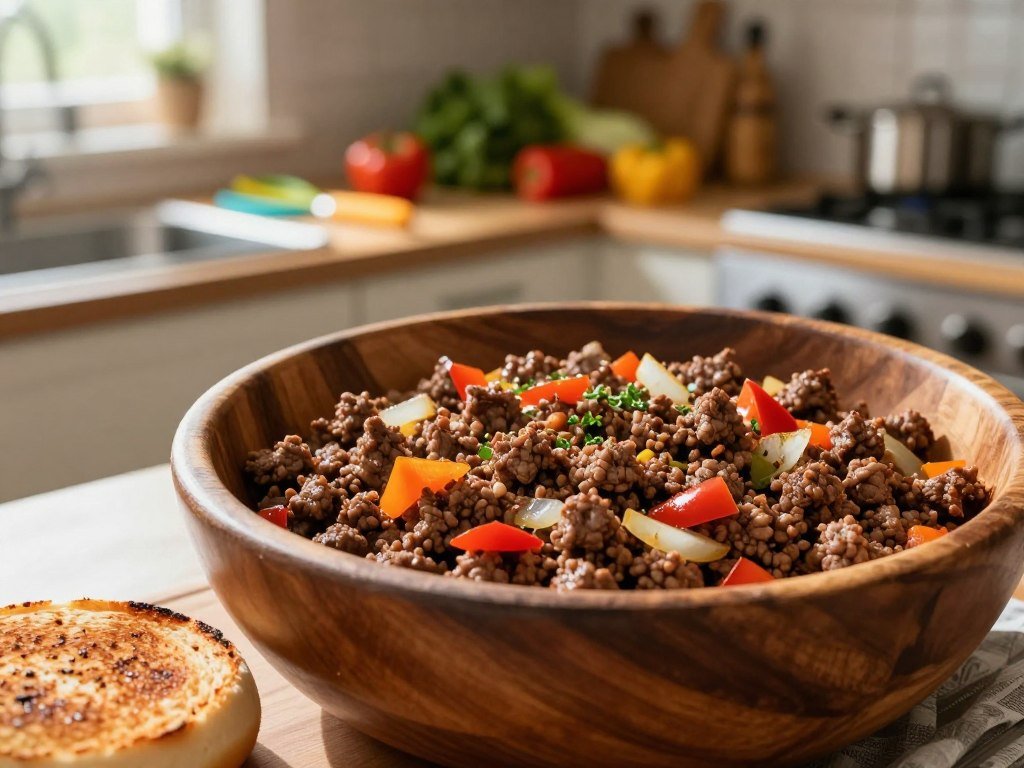
A busy weeknight calls for a dinner that feels comforting without demanding complicated prep, and this best sloppy joe recipe fits the bill. It uses familiar ingredients to make a saucy, homemade filling from scratch. A loose-meat sandwich is filled with seasoned ground meat rather than a formed patty. You’ll get a five-serving recipe and clear stovetop steps, with room to adjust the flavor to suit your family.
Key Takeaways
- Make a homemade Sloppy Joe filling with ground beef and pantry staples.
- Break up the beef as it cooks for an even texture.
- Check the meat with a thermometer, not color alone.
- Adjust sweetness, tang, and thickness after tasting the sauce.
- Store the filling apart from buns to keep them from getting soggy.
This homemade filling can be served right away or kept separate from the buns until mealtime.
What Makes This the Best Sloppy Joe Recipe?
The from-scratch version gets its savory base from lean beef, onion, bell pepper, and garlic. Simple ingredients build a rich sauce without a seasoning packet, and the recipe yields five servings.
Choose 85%-90% lean ground beef for a balance of meat and fat. Texas A&M AgriLife Extension explains how to read ground beef labels to choose the right blend. Manwich is a brand of canned Sloppy Joe sauce, while a packet mix is a different product.
Three- and five-ingredient shortcuts
An easy Sloppy Joe recipe with 3 ingredients uses ground beef, canned Sloppy Joe sauce, and buns. It is a fast route when you want a short shopping list.
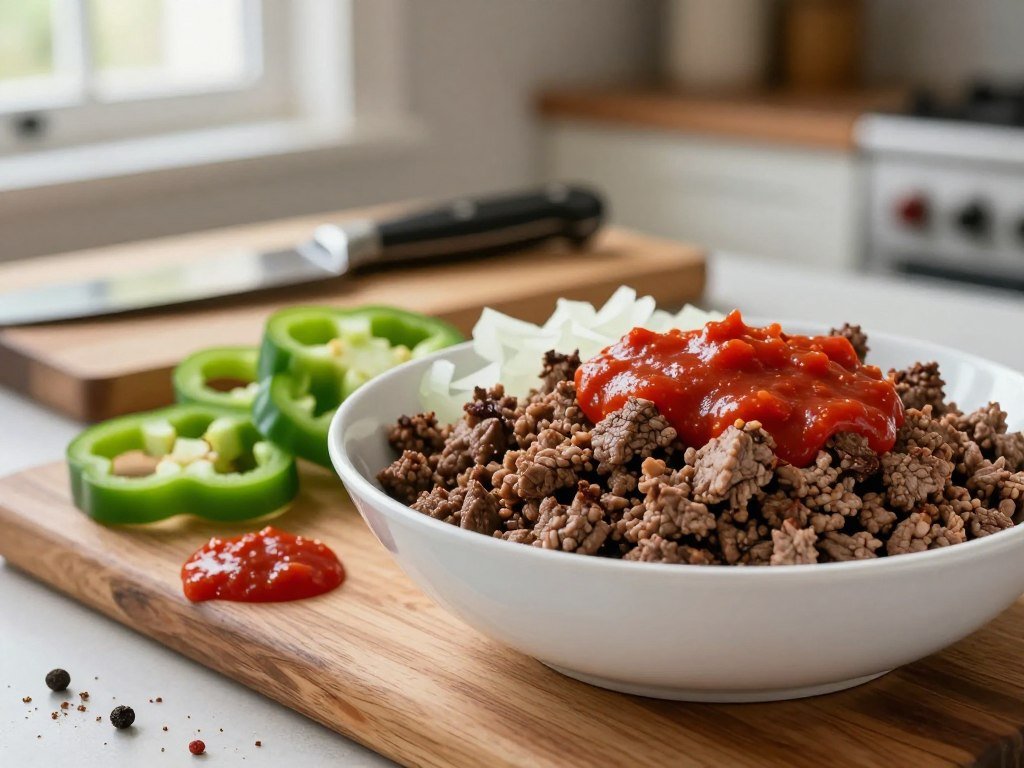
An easy Sloppy Joe recipe with 5 ingredients adds onion and green bell pepper. Those two vegetables give the beef more texture and a fresh, savory note.
For this full version, gather the following ingredients by type:
- Beef: 1 lb ground beef, 85%-90% lean.
- Vegetables: 1 small finely chopped onion, 1/2 small diced green bell pepper or 1/2 cup grated carrot, and 3 minced garlic cloves.
- Sauce ingredients: 1 15 oz can tomato sauce, 1/4 cup ketchup, 1 Tbsp Worcestershire sauce, 1 1/2 tsp yellow mustard, and 2-3 tsp brown sugar.
- Seasonings and oil: 1 Tbsp cooking oil, 1/2 tsp salt, and 1/4 tsp black pepper.
- Buns: 5 hamburger buns.
Homemade sauce versus packaged mix
Ketchup and brown sugar bring sweetness; mustard adds tang, and Worcestershire adds savory depth. Together, they make a balanced tomato sauce that clings to the beef.
A Sloppy Joe mix is a seasoning packet, not the same as a can of ready-to-use sauce. If you use a mix, follow the package directions for the needed liquids and amounts.
Use beef labeled 85%-90% lean for the closest fit with this recipe’s meat-to-fat balance.
For the closest match to this recipe, use the listed homemade sauce ingredients rather than substituting a packet mix.
How Do You Cook the Filling Safely and Get the Right Texture?
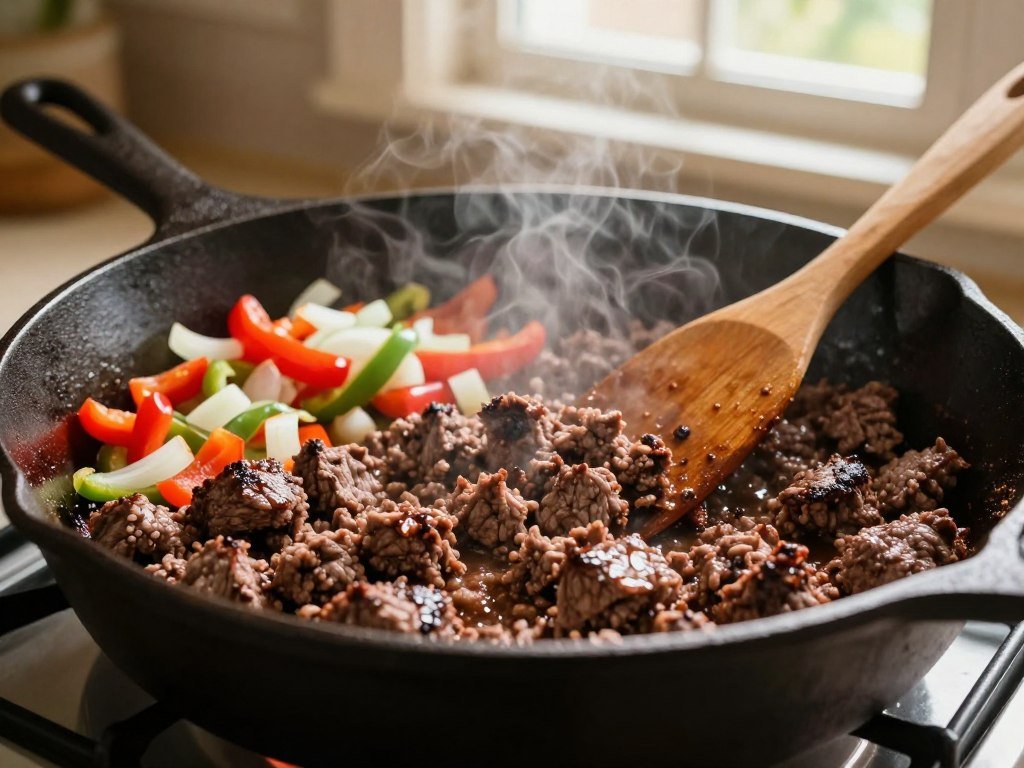
For an old-fashioned stovetop filling, brown the beef in a skillet, then soften the vegetables before adding the sauce. Keep the meat fine and the heat steady for a spoonable texture.
Cook ground beef to 160 °F throughout, and check it with an accurate thermometer. Color alone cannot confirm safe doneness.
The old-fashioned stovetop sequence
For an Old-fashioned Sloppy Joes recipe, use this order:
- Heat the oil in a large skillet, add ground beef, and break it into small pieces.
- Cook the beef for about 5 minutes, until no longer pink and cooked through.
- Add the onion and bell pepper. Cook for another 5 minutes, until tender.
- Stir in the garlic and cook for 30 seconds.
- Add the prepared sauce, then simmer uncovered until thick but still moist.
Keep the sauce at a gentle simmer for about 10-15 minutes. The exact time depends on the pan’s heat and how thick you want the filling.
Check doneness and sauce thickness
Use a food thermometer to check the center of the cooked beef, not just a browned surface. The temperature should reach 160 °F throughout.
Four common mistakes can make the filling less safe or harder to serve:
- Leaving large clumps of beef in the skillet.
- Relying only on color to check whether the beef is done.
- Keeping the heat high during the simmer.
- Adding water before checking the sauce consistency.
Keep the sauce at a gentle simmer so it thickens without scorching on the bottom of the pan.
How Can You Adjust Sloppy Joe Sauce to Taste?
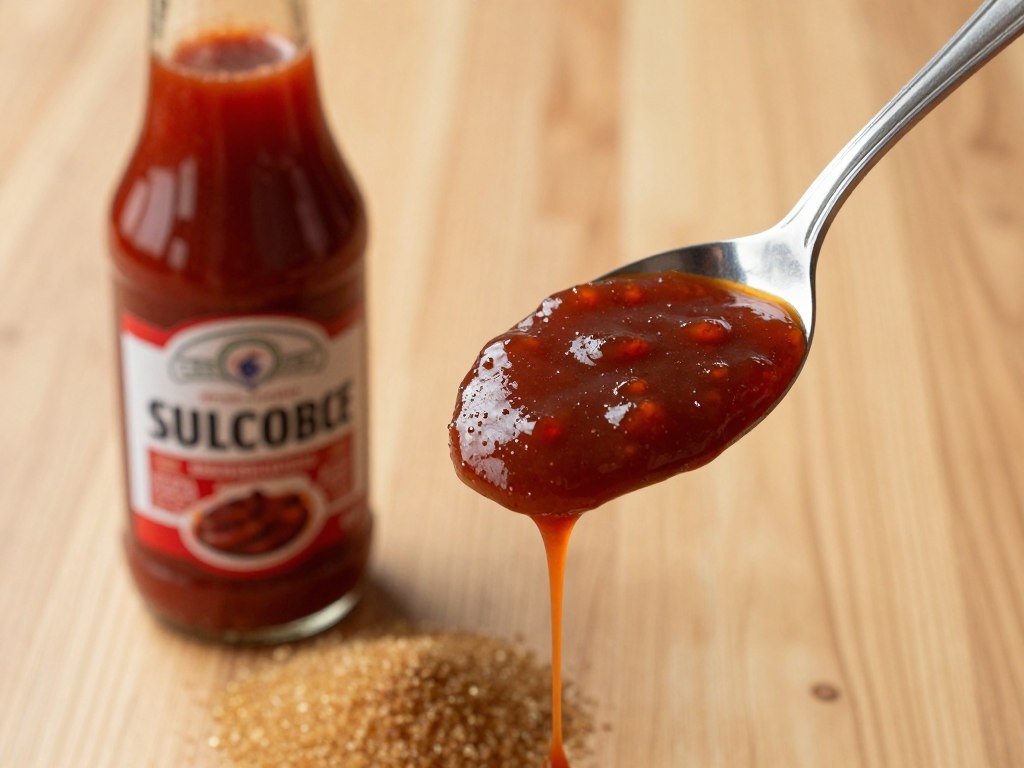
A small adjustment after tasting is usually enough to bring the sauce into balance. Start with the smallest change, since brown sugar, ketchup, salt, and black pepper can shift flavor quickly.
Make one change at a time, stir well, and taste again before adding more. Hot sauce or sriracha can bring heat without changing the basic tomato flavor too much.
| Taste issue | Adjustment | Amount or time |
|---|---|---|
| Too sweet | Salt or apple-cider vinegar | A pinch or 1/2 tsp |
| Too tangy | Brown sugar or ketchup | 1/2 tsp or a drizzle |
| Too tomato-forward | Extra simmering | 5 minutes |
| Too loose | Uncovered simmering | 3-5 minutes |
| Too thick | Water | A splash |
A pinch of salt or a little vinegar can counter excess sweetness. A touch of sugar or ketchup can soften excess tang, while extra simmering mellows a strong tomato taste.
If the sauce seems loose, give it more time uncovered before reaching for water. A splash of water works when the mixture has become too thick.
Add any correction in small increments, since it is easier to add more than to undo an over-seasoned pan.
What Toppings and Sides Go With Sloppy Joes?
Toasted buns add flavor and give the saucy filling a sturdier base. Toasting helps the bread hold up, so each sandwich is easier to pick up.
Toast the cut sides until lightly crisp, then spoon on the filling just before serving. Pickle chips and cheese make easy toppings, with sharp cheddar adding a savory bite.
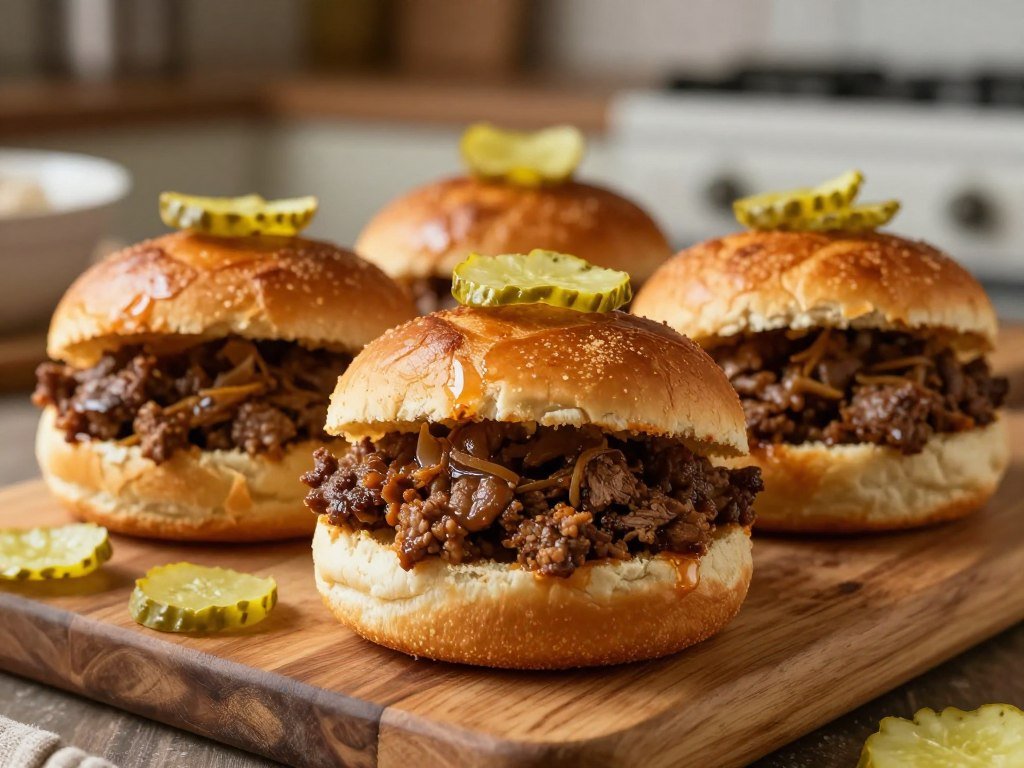
Choose a simple side that brings crunch or a cool contrast to the warm beef. These four options work well with the saucy sandwiches:
- Potato chips
- Dill pickle spears
- Potato salad
- Coleslaw
Macaroni salad is another good choice if you want a creamy side. Its mild flavor pairs well with the tomato sauce without competing for attention.
Set out toppings in small bowls so everyone can finish a sandwich their own way. Cheese can melt over the warm filling, while pickle chips add a crisp, sour note.
Keep the filling and buns separate until serving so each sandwich stays easier to handle.
Where Did Sloppy Joes Come From, and What Does a Sloppy Joe Can Contain?
The Sloppy Joe’s origin is disputed, though one account traces it to a loose-meat sandwich in Sioux City in 1930. In that account, a cook added tomato sauce to the meat, creating a saucy version of the sandwich.
One account places the creation in Sioux City, Iowa, in 1930, but that is not a settled origin story. The dish grew from a loose-meat sandwich, a style built around seasoned ground meat instead of a formed patty.
Hunt Foods manufactured canned Sloppy Joe sauce in 1969. That product offered a ready-made tomato sauce for home cooks to add to meat.
A can of canned Sloppy Joe sauce contains sauce, not a complete pan of meat filling. Manwich is a brand of canned Sloppy Joe sauce, so check the label for what the can includes.
Do not assume that every can labeled for Sloppy Joes contains the same thing. Some products provide only sauce, while others may be complete meals.
For another tomato-and-meat dinner, try this homemade beef and bean chili. Its ground beef, tomatoes, and spices make a hearty meal with a different flavor from Sloppy Joes.
Check whether a can contains sauce or a complete meal before adding it to cooked beef.
How Should You Store and Reheat the Filling?
Store leftover filling on its own so the buns do not absorb moisture while it waits. Separate storage also makes it easy to warm only what you plan to eat.
Refrigerate cooked filling for up to 3 days, or freeze it for 2-3 months. Kansas State University Extension lists these storage periods for cooked meat leftovers in its safe food storage guide.
| Situation | Time or condition | Storage or reheating method |
|---|---|---|
| Refrigerator | Up to 3 days | Cool, cover, and refrigerate |
| Freezer | 2-3 months | Cool and transfer to a freezer-safe container or bag |
| Thaw and reheat | Thaw overnight in the refrigerator, then heat until hot | Use a stovetop pan or cover the filling in the microwave |
Let the mixture cool, then move it to a covered container or freezer-safe bag. Flattening a freezer bag helps the filling take up less space and thaw more evenly.
Thaw frozen filling overnight in the refrigerator before reheating. Warm it in a stovetop pan until hot, or cover it in the microwave.
Reheat only the amount you plan to serve, and cover the dish if using a microwave to catch splatter.
What Is the Nutrition per Serving?
The listed nutrition per serving is 359 calories, with 24 g of protein and 33 g of carbohydrates. Each serving also has 15 g of fat and 1,073 mg of sodium.
These values describe the filling, not a personalized dietary assessment. Your actual meal can differ with the brands and ingredients you use, as well as the bun and toppings you choose.
Use the listed nutrition as a general guide, not as a personal diet assessment.
The ground beef and sauce ingredients shape much of the meal’s protein, fat, sugar, and salt. A different beef blend or canned tomato sauce can change the totals.
Salt and sodium are not the same measure, so check the nutrition labels when comparing products. Ketchup and Worcestershire sauce can also add sodium to the mixture.
If sodium is a concern, check the labels on the canned tomato sauce, ketchup and Worcestershire sauce you use.
Conclusion
A skillet of homemade filling is a simple way to bring a familiar, satisfying dinner to the table. You can tailor its flavor at the stove with small changes, then serve it when the sauce reaches your preferred thickness.
Toasted buns give the sandwich a sturdier base and a little extra flavor. Keep the filling ready in the skillet while you set out a few easy sides.
Set out the toasted buns and your chosen sides, then let everyone build a sandwich to suit their appetite.
FAQ
What is the secret to a good sloppy joe?
What are some common mistakes to avoid when making homemade sloppy joes?
What can you add to sloppy joe to make it taste better?
What is the best sloppy joe recipe?
What’s the difference between a sloppy joe and a sloppy Jane?